MVT inner rotor Ignition Problems!? Puch Maxi Tuning Puchshop
No! Of course this is not true. At least, 9 times out of 10, it's not. Tuning an inner-rotor ignition naturally looks slightly different from an original ignition. This is often the reason why people get stuck. No problem, Puch Meister Chris and companion Eric to the rescue! In this video, we show you from A to Z what not only comes in the box of an MVT inner rotor ignition, we show you what tools you need to assemble and adjust an inner rotor ignition, adjusting an inner rotor and how it runs + the benefits. What more could you want! Video down below.
In addition, if you just want all the info in one place, no problem:
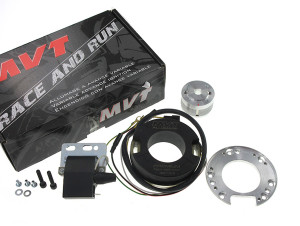
MVT Premium:
- Analogue fixed curve inner rotor ignition
- Stator with wiring for the CDI, coil and 55watt of lighting output!
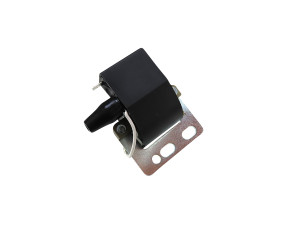
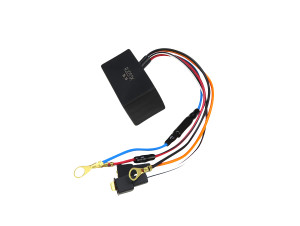
- CDI + Ignition coil combination with mounting plate
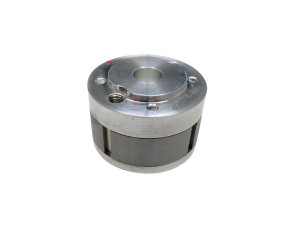
- Rotor, without slot or wedge, tapered hole
- Adapter plate
- Instructions (French language but Google lens + Translate is your best friend! )
Tools:
- Screwdriver (Adapter plate)
- Wrench 10mm (Ignition coil CDI assembly)
- Socket spanner with cap 15/16 (Flywheel / Rotor Nut)
- Imbus spanner 4 and 5 ( Stator + Puller )
- Flywheel/rotor puller
- Piston stopper
- micrometer timing clock
Instructions:
- Dismantle your flywheel and old ignition inc wiring directly attached to it.
- Fit the MVT adapter plate in place of the base plate location using the screws provided within
- Dismantle any old seperate coil or coil-cdi combination from your old ignition and replace it with the MVT version on your frame. (Dont forget to establish ground)
- Mount the MVT Stator, set the baseplate adjustment in the middle (Imbus), insert the wiring through your crankcase and connect it to the MVT coil-CDI and the rest of your wiring
- Mount the micrometer timing clock into your spark plug hole, then rotate your crankshaft shaft at the ignition until the clock is at 0°
- 0° is the top dead center and also the basic adjustment for an MVT Premium inline rotor ignition
- (For right-turning puch blocks) Place the MVT rotor with its red line straight with the top line on the Stator while the timing clock still reads 0°.
- Give a small tap with a rubber hammer on the stator so that the rotor and crankshaft stay in place, change the timing clock for the piston stop
- Tighten the nut on the crankshaft, in front of the rotor, remove the piston stop and swap it again for the timing clock.
- Rotate the block to see if the red line is still dead on par with the line on the stator. If it has shifted, correct this with the two sockets to shift the stator
And ready! Crank it and test drive it.


