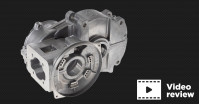
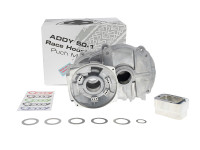
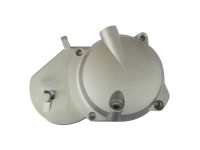
ADDY 50-1 A engine cases 2.0 version with stand mount! (Puch Maxi E50 racing engine case)
Please note this is a 2nd chance product!
There is a dent on the flywheel side, this does not affect the operation of the motor.
Note: 2nd chance products cannot be returned!
This is the first racing engine case for Puch Maxi mopeds to be released to the public market. Many advantages for racing have been implemented. Name of this product "ADDY 50-1 A engine case". Offcourse this engine case will be perfect for your street use Puch as a replacement!
The biggest achievement is the wide and flat surface with pre-positioning for reedvalve conversions WITHOUT welding. Warped, crooked and bad engine cases are now a thing of the past.
Eckdaten:
- 2.0 version with stand mount!
- Significantly more sealing surface at the cylinder mount than E50 and E50-A.
- 4 bearing pedal start engine
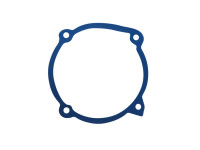
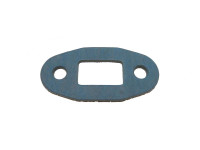
- Prepared for a case reed valve (with at least 2mm thick inlet gasket original carburettor can be mounted on original cylinder -> cat like non-cat)
- Positioning pins for the housing halves
- More threaded holes for ignition mounting (for more flexible ignition mounting)
- Cooling fins for controlled temperatures
- Optimised fluid chamber
- Cylinder stud hole pattern 44mm x 44mm
- Diameter of cylinder neck is 48.4mm and can be spindled up to 53mm if no GME is used.
- Basically a little more massive everywhere
- Tip: Do you have an ADDY 50-1 A engine in combination with a Bing 15mm? Then use a 2mm inlet gasket. The standard inlet gasket is too thin. (see related products)
- Tip: Do you have an ADDY 50-1 A engine i.c.w. a Dellorto carburettor with standard manifold? Then use a thicker intake gasket so the carburettor will stand a bit higher.
Assembly instructions:
The housing must be taken apart at the beginning. It has many attachment points for screwdrivers to split the housing. CAUTION!!! Caution is advised. The positioning pins are very precise, so the casing must be loosened very parallel from each other. The housing can be very tight when new. Targeted use of a screwdriver and rubber mallet can achieve the desired result here.
After dismantling, the housing must be cleaned of any metal chips and oils. Then the positioning of the secondary shaft can be adjusted using the spacers supplied. (17/24mm washer between bearing and gear wheel for better bearing fit. 28/40mm washers between bearing and tight fit in the engine, right and left, as required. A minimum clearance of 0.15mm should be left).
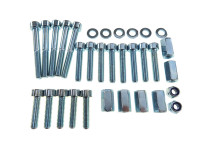
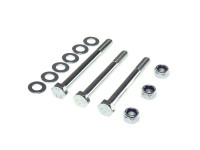
Finally, as with the original housings, sealant should be applied to the sealing surfaces on the cases. The mounting bolds that are needed: 7 pieces M6x35 and 6 pieces M6x50. The housing should ideally be screwed on with screws of strength 10.9 and 12-15Nm torque. Tighten the screws from the inside to the outside and always crosswise.
Free shipping for selected countries*
Order now, Pay Later
Delivered in 2-6 days within Europe*
Super fast (tech) support
Easy returns
Customers rate us 4.83/5


